Welcome to BuildVR Blog
Welcome to BuildVR Blog
Learn more about what's trending in VR, 3D and AI space.
Beginner’s Guide to Creating a Virtual Tour from Scratch (Using Build VR)
In a world that's quickly moving toward immersive digital experiences, virtual tours have become a must-have. Whether you're a real estate agency, a college campus, a retail brand, or a travel company, a well-designed virtual tour brings your space to life — even from thousands of miles away.
But how exactly do you create one from scratch?
If you're new to this space, don’t worry. With intuitive platforms like Build VR, anyone — yes, even non-techies — can craft stunning, interactive virtual experiences. Here’s your step-by-step beginner’s guide.
🌍 Step 1: Understand What a Virtual Tour Is
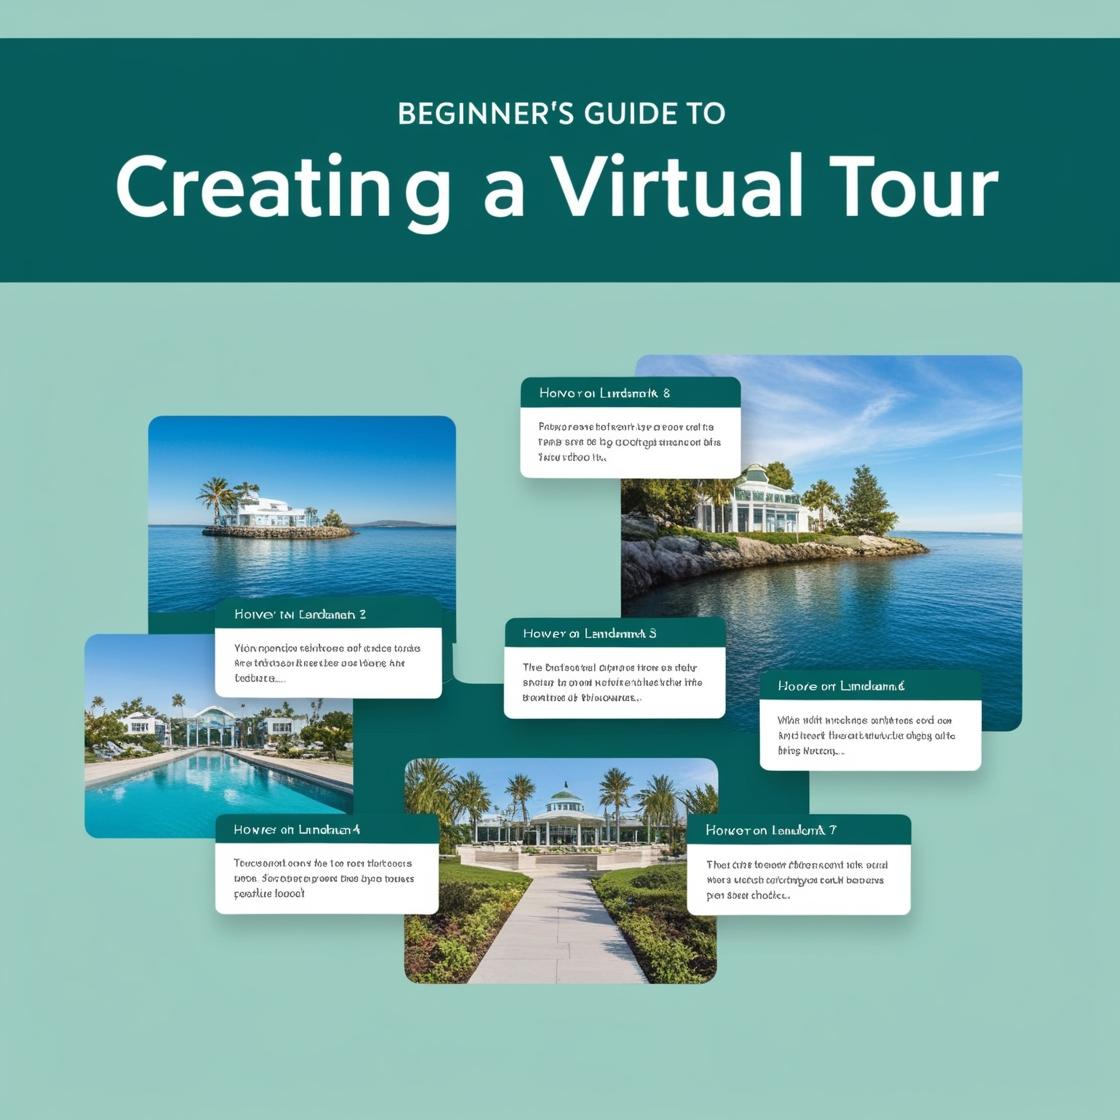
A virtual tour is an immersive, 360° digital representation of a real-world space. Users can “walk” through it online, interact with hotspots, and explore different areas at their own pace. Think of it as a self-guided, interactive visit — powered by the magic of VR and 3D scanning technology.
🎯 Step 2: Choose Your Space & Goals
Before you start building, get clear on what you're showcasing:
- A real estate property?
- A hotel or resort?
- A retail showroom or art gallery?
- A university campus?
Also, define what you want users to do inside the tour — just look around, shop, click for more info, or even book appointments.
📸 Step 3: Capture Your Environment in 360°
Now, it’s time to get visual. For a high-quality tour, you’ll need to capture your space using:
- A 360-degree camera like Insta360 or Ricoh Theta
- Or a 3D scanning setup for photorealistic models (many smartphones now support basic LIDAR scanning!)
Make sure your space is clean, well-lit, and ready for presentation.
🧱 Step 4: Upload to Build VR
Now the fun begins. Upload your 3D model or 360 images to the Build VR platform. The platform is built to:
- Handle various file types (OBJ, FBX, GLTF, etc.)
- Optimize large 3D models for smooth performance
- Auto-generate interactive walkthrough paths
- Allow you to add clickable hotspots, text pop-ups, videos, and external links
You can also rearrange scene transitions, set up menus, and create a seamless navigation flow — all with drag-and-drop simplicity.
🧠 Step 5: Make It Interactive
This is where Build VR shines.
You can embed:
- Informational tags
- Pop-up product info
- Embedded videos (like a welcome message or brand story)
- Lead forms or CTAs
The goal? Turn a passive tour into an interactive storytelling experience.
🌐 Step 6: Publish and Share
Once you're happy with the experience, you can publish your virtual tour as:
- A sharable link
- An embeddable widget for your website
- A mobile/VR-compatible experience for headsets
You can also track user interaction, collect analytics, and optimize the tour based on real-time data.
💡 Why Choose Build VR?
Build VR was designed with creators in mind — intuitive, powerful, and packed with features that scale with your imagination. Whether you're showcasing real estate, retail, or art, Build VR helps you create immersive journeys that spark curiosity and drive results — without needing a tech team.
Ready to build your virtual world? 🌐✨
Try Build VR today — where your spaces become stories.
By: Thomas